Ensuring accessibility to all types of media is incredibly important, both for enabling as many people as possible to enjoy the media, as well as supporting as many ways as possible for interacting with it.
Closed Captioning helps massively with ensuring video content is more accessible by providing a transcription of its audio. Not only does this make video content more accessible to people who are deaf or hard of hearing, but also means it can be enjoyed in situations where having audio on isn't possible.
Historically it's been challenging to provide closed captioning for live experiences, be it a live interview, a sports game with commentary, or a livestream. But Deepgram's AI tooling has changed this, allowing users to easily convert realtime streams of audio into accurate transcripts.
In this tutorial, we'll look at how you can make use of Deepgram to generate realtime closed captioning, and then use Ably to handle the distribution of these transcripts to as many clients as you need.
All the code is available on GitHub.
Overview
For this tutorial, we'll be making a React application with Vite, coded in TypeScript.
The project will consist of a simple page with two buttons, 'Start Recording' and 'Stop Recording'. We will also have a separate server, which will be responsible for generating authentication tokens, as well as interacting with Deepgram for us. When someone is recording their audio, they'll send their audio to our server to then send it to Deepgram to be interpreted.
Once the transcript has been returned to our server, it will then publish the updated scripts to Ably, which will handle distributing them to all interested clients for rendering. We'll also include identification information per client so that we can create scripts indicating who said what.
Technology
- Deepgram: A speech recognition (ASR) service that converts audio into text. Deepgram's API is powerful yet simple, making it a great choice for this project.
- Ably: A Serverless WebSockets solution, which makes it easy to scale up communication between potentially millions of frontend devices and backends.
- Vite and React: Vite is a frontend tooling product that enables a faster development environment. Coupled with React, building interactive and performant user interfaces is a breeze.
Both Ably and Deepgram provide free access to their products. Ably provides up to 6 million messages per month in their free package, and Deepgram provides $200 worth of usage for free.
You can sign up to Deepgram, and then go to your project to create an API key.
You can get an Ably API key by signing up to Ably, creating an app, and then getting an API key from the API key section of the app.
For this tutorial you’ll need an API key for each.
Setting Up the Project Environment
- Initializing the Project
Create a new directory for your project and navigate into it via your terminal. Initialize a new Vite project with the following commands:
npm create vite@latest realtime-transcription -- --template react-ts
cd realtime-transcription
This will create a new Vite project with a React and TypeScript template.
-
Installing Necessary Packages
Next, install the necessary packages for your project:
npm install @deepgram/sdk ably dotenv@deepgram/sdk: The Deepgram SDK for interacting with the Deepgram API.ably: The Ably library for realtime messaging, which includes the React Hooks functionality.dotenv: A module that loads environment variables from a.envfile intoprocess.env. This will be used by the server, as Vite already provides a way to access environment variables.
To make sure everything is working, run npm run dev, and look at the endpoint it mentions (usually http://127.0.0.1:5173/) to check everything is rendering correctly.
-
Creating a
.env.localFileCreate a
.env.localfile in the root of your project directory to store your Ably and Deepgram API keys. This file should look like:VITE_ABLY_API_KEY=your-ably-api-key VITE_DEEPGRAM_API_KEY=your-deepgram-api-key
Make sure to replace your-ably-api-key and your-deepgram-api-key with your actual API keys from Ably and Deepgram respectively.
Setting Up the Transcription Server
With the authentication details stored, let's start with setting up a server that will handle interfacing between Deepgram and the clients. This will just be a basic Node.JS server.
-
Creating the Server Directory and File:
First, let’s create a directory for our server files. In the root of your project directory, create a new folder named
server. Inside theserverdirectory, create a file namedserver.js.mkdir server cd server touch server.js -
Importing Necessary Modules:
At the top of the
server.jsfile, you import the necessary modules that you will use throughout the server logic.import dotenv from 'dotenv'; dotenv.config({ path: `.env.local` }); import Deepgram from '@deepgram/sdk'; import Ably from 'ably'; -
Initializing Deepgram and Ably Clients:
const deepgram = new Deepgram.Deepgram(process.env.VITE_DEEPGRAM_API_KEY)
const ably = new Ably.Realtime(process.env.VITE_ABLY_API_KEY);
Here, you create new instances of the Deepgram and Ably clients, passing in your API keys from the environment variables.
-
Setting Up Ably Channels:
With our Ably connection established, we can create instances of Ably Channels.
const fromClientChannel = ably.channels.get('request-channel');
const broadcastChannel = ably.channels.get('broadcast-channel');
Here we have two Ably channels;
request-channelfor receiving audio data from the clients, andbroadcast-channelfor publishing transcriptions back to the clients. -
Subscribing to Presence Events:
Ably allows for meta information on connections to be communicated via the Presence feature. For our use case here, we will want to know when a client is ready to start communicating its audio to the server, as well as when they are stopping. Additionally, we will want to know the identifying details of a client, so that it can be appropriately attributed to their audio.
To do this, we will first start by subscribing to enter and leave events from the clients.
fromClientChannel.presence.subscribe('enter', (member) => { console.log("New member joined: " + member.clientId); // Start up Deepgram session // Start sending audio to Deepgram // Listen to clients via Ably for audio messages }); fromClientChannel.presence.subscribe('leave', (member) => { console.log("Member left: " + member.clientId); }); -
Creating a Deepgram Live Transcription Session:
Inside the callback for the
enterevent, just under theStart up Deepgram sessioncomment, you create a new Deepgram live transcription session.const deepgramLive = deepgram.transcription.live({ punctuate: true, smart_format: true, });As part of the configuration, we set
punctuateandsmart_formatto true to help make the produced transcripts easier to read. -
Setting Up Deepgram Event Listeners:
Next, let's add some listeners for this session. The main one we're interested in is
transcriptReceived, which will be how we will receive the transcript segments generated by Deepgram. Theerrorandcloselisteners are helpful for debugging and future issues you may encounter.Add the following just below the
Start sending audio to Deepgramcomment.deepgramLive.addListener("transcriptReceived", (transcription) => { // Publish the transcript to Ably for the clients to receive }); deepgramLive.addListener("error", (err) => { console.log(err); }); deepgramLive.addListener("close", (closeMsg) => { console.log("Connection closed"); }); -
Handling Received Transcripts:
With the above we'll be able to recieve the transcripts, but we now need to extract the transcript text, and publish it to the
broadcast-channelon Ably.Add the following just below the
Publish the transcript to Ably for the clients to receivecomment:const data = JSON.parse(transcription); if (data.channel == null) return; const transcript = data.channel.alternatives[0].transcript; if (transcript) { broadcastChannel.publish(member.clientId, transcript); } -
Subscribing to Client Messages:
Finally, we need to listen for messages from the specific client who we're transcribing. The messages will come through Ably, and we will use the
namefield of a message in this tutorial to hold the client ID of the publishing client, making it easy for us to filter out any messages we're not interested in.Add the following below the
Listen to clients via Ably for audio messagescomment.const queue = []; fromClientChannel.subscribe(member.clientId, (msg) => { if(deepgramLive.getReadyState() === 1) { if (queue.length > 0) { queue.forEach((data) => { deepgramLive.send(data); }); queue.length = 0; } deepgramLive.send(msg.data); } else { queue.push(msg.data); } });Here all messages are being forwarded to the Deepgram live transcription session. It's worth noting here that we are communicating using an ArrayBuffer data type. We also store messages which arrive prior to the connection to Deepgram being established in a queue, so that we can still deliver them correctly.
Running the Server
As we will want the Node server to run alongside the Vite server, let's set it to run when we execute npm run dev. Inside of our package.json file, update the "dev": "vite", line to be "dev": "vite & node server/server.js",.
Assuming everything has been done correctly, if you now run npm run dev both should start running without any errors.
Setting Up the Client
With the server ready to start interfacing with Deepgram, it's time to set up our Vite app.
-
Instantiating Ably React Hooks
Navigate to the
srcdirectory, and replace the contents ofmain.tsxwith the following:import React from 'react' import ReactDOM from 'react-dom/client' import App from './App.tsx' import './index.css' import * as Ably from 'ably/promises'; import { AblyProvider } from 'ably/react'; const client = new Ably.Realtime({ authUrl: '/api/token' }); ReactDOM.createRoot(document.getElementById('root')!).render( <React.StrictMode> <AblyProvider client={client}> <App /> </AblyProvider> </React.StrictMode>, )All we're doing here is creating an instance of the Ably client library, which will be accessible within the
App.tsxfile due to us wrapping it in theAblyProvider.You may note that when instantiating the Ably client, we're making use of an authUrl rather than a key like we did in the Node.js server. This is because we want to keep the API key hidden away from clients, so as to avoid unmoderated usage of them by potentially untrusted devices and users.
The authUrl method allows for us to instead provide a Token from the defined endpoint, which will be short-lived and able to be revoked if needed.
-
Creating the Ably Authentication Endpoint
Let's create this endpoint within the Vite application, which can provide our clients their Ably Tokens.
Firstly, we'll need to
vite-plugin-api, which makes it easy for us to create API endpoints for our clients to use within Vite to obtain tokens. Run the following:npm install vite-plugin-api expressNext, replace the contents of
vite.config.tswith:import { defineConfig } from 'vite'; import react from '@vitejs/plugin-react'; import { pluginAPI } from "vite-plugin-api"; // https://vitejs.dev/config/ export default defineConfig({ plugins: [react(), pluginAPI({ // Configuration options go here }), ], });Create a new file in
/src/api/tokencalledindex.ts. In it, add the following code:import Ably from "ably/promises"; export const GET = async (req:any, res:any) => { const client = new Ably.Rest(import.meta.env.VITE_ABLY_API_KEY); const clientId = Math.random().toString(36).substring(2, 15) + Math.random().toString(36).substring(2, 15); const tokenRequestData:Ably.Types.TokenRequest = await client.auth.createTokenRequest({ clientId }); return res.json(tokenRequestData); }Here we are using the Ably client library to generate a TokenRequest object, which we can return to the requesting client to use to authenticate with. Usually you'd have some form of login or check prior to just giving unlimited access to a client, but for this tutorial we'll keep things simple.
We are also assigning the token a clientId, which in this case is just a random string. This is what will be used to identify the client when generating transcriptions.
Updating App.tsx
Our Vite client should now have access to Ably, which means we're ready to start assembling everything. What we need from the client is:
-
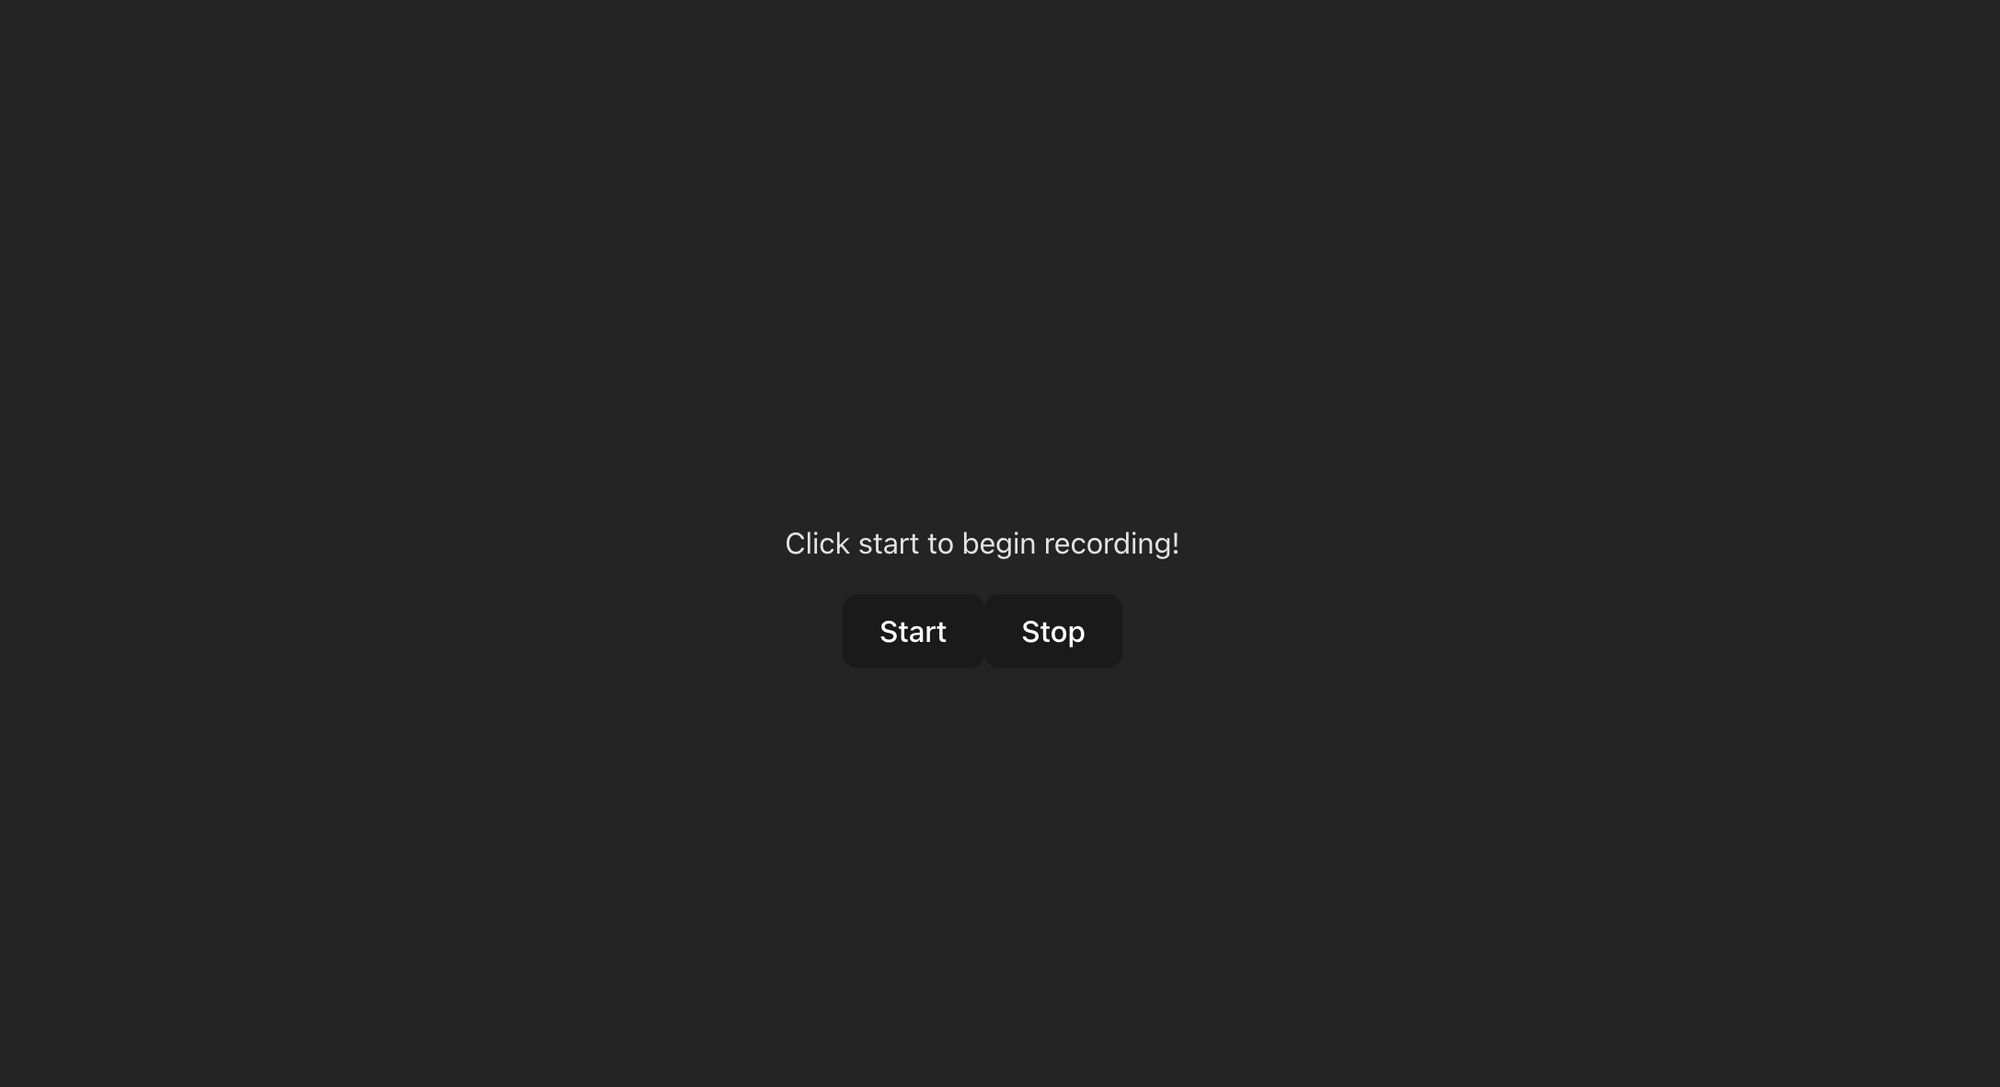
We need to have two buttons in our app, one to start recording and one to stop recording. We will also need a text field to put our transcripts in.
-
We will need to request the client for permission to use their microphone. Upon receiving permission, we will start listening for audio to be shared with our server, and thus Deepgram.
-
For each snippet of audio we receive, we will publish it to Ably, for our server to use.
-
The client will listen for any transcript updates via Ably, ready to append them to our transcript on the page.
-
Importing Dependencies:
Start by importing the necessary dependencies at the top of your
/src/App.tsxfile.import { useState } from "react"; import './App.css' import { useAbly, useChannel } from 'ably/react'; import { Types } from 'ably';useAblyanduseChannelare Hooks for interacting with Ably.Types: Type definitions from theablylibrary.
-
Defining the App Component:
Replace the
Appcomponent with the following:function App() { const [state, setState] = useState({ active: 'stop' }); const [transcription, setTranscription] = useState(""); // Get Ably channel // Obtain states // Listen for transcription updates from Ably async function start(_e: any) { setState({ active: 'start' }); //Add microphone access and send audio to Ably } async function stop(_e: any) { setState({ active: 'stop' }); // Stop recording } return ( <div> <p id="realtime-title">Click start to begin recording!</p> <button onClick={start} className={state.active === 'start' ? 'active' : ''} >Start</button> <button onClick={stop} className={state.active === 'stop' ? 'active' : ''} >Stop</button> <p id="message">{transcription}</p> </div> ); } export default App;Here we are setting up the framework for what we'll be designing. Importantly, we've added two functions, start and stop, which will handle the actions of clicking the 'start' and 'stop' button respectively. The currently active button is held in the
statestring. We also have defined thetranscriptionstring, which will be the string which holds our responses from Deepgram via Ably.So that we can see which button is active visually, add the following CSS to the end of the
App.cssfile:.active { color: #61dafb; outline: 4px auto -webkit-focus-ring-color; } #message { white-space: break-spaces; }If you run the project again now with
npm run dev, you should see our new page.
-
Setting Up Ably:
Inside the
Appcomponent, under theGet Ably request channelcomment, set up Ably by calling theuseAblyanduseChannelhooks.const client = useAbly(); const requestChannel = useChannel('request-channel').channel;The
request-channelwill be the channel we will publish to with our audio snippets. -
Sending Audio to Ably
With our Ably channel instantiated, we can now start populating our
startfunction, where we will be obtaining audio from our mic and publishing it to Ably.We want to ensure we only use the one recorder, so let's set up
recorderat the top of theAppfunction, which is what we'll use as our singular MediaRecorder:const [recorder, setRecorder] = useState({} as MediaRecorder); const [state, setState] = useState({ active: 'stop' }); const [transcription, setTranscription] = useState("");Under the
Add microphone access and send audio to Ablycomment, add the following code:navigator.mediaDevices.getUserMedia({ audio: true }).then(async (stream) => { const mediaRecorder = new MediaRecorder(stream); setRecorder(mediaRecorder); // Enter Ably Presence to indicate we're ready to send audio // Send audio to Ably });With this code, we are obtaining permission to access the client's microphone audio, and then set up a Recorder to use.
Next, we want to enter the Ably Presence set, so as to indicate to the server we're about to start sharing audio data with it. Under the
Enter Ably Presence to indicate we're ready to send audiocomment, add the following:await requestChannel.presence.enter();Finally, we can set up a listener for the audio, and publish these segments of audio as ArrayBuffers.
   mediaRecorder.addEventListener('dataavailable', async (event) => {
     if (event.data.size > 0) {
       const arrayBuffer = await event.data.arrayBuffer();
       requestChannel.publish(client.auth.clientId, arrayBuffer);
     }
   });
   mediaRecorder.start(1000);
We are also setting the recorder to emit the
dataavailableevent once every second withmediaRecorder.start(1000). -
Stopping Recording
With our start button functional, let's add the functionality we need to stop the recording in the
stopfunction:async function stop(_e: any) { setState({ active: 'stop' }); if (recorder.state != null) { recorder.stop(); await requestChannel.presence.leave(); } }Here we're just stopping our MediaRecorder, and then also leaving the Ably Presence set to indicate to the server we're done sending data.
-
Subscribing to the Ably Channel for Captioning:
With the above code written, we're now able to send our audio to our server via Ably, which is being then converted to a transcript by Deepgram, and published back to the Ably channel
broadcast-channel. We now need to subscribe to that channel, and add the text attached to messages on it to ourtranscriptstring.Use the
useChannelhook to subscribe to thebroadcast-channelon Ably.const [lastPersonTalking, setLastPersonTalking] = useState(''); useChannel('[?rewind=100]broadcast-channel', (message: Types.Message) => { // Update the transcript });The
?rewind=100parameter ensures we receive the last 100 messages published on the channel.For each message, let's now update the transcript. Whenever a new person talks, we will create a new line, and include the client ID of the new speaker. Add the following under the
Update the transcriptcomment:let transcript = message.data; if (lastPersonTalking !== message.name) { setTranscription(prevTranscription => (prevTranscription + '\n' + message.name + ': ')); setLastPersonTalking (message.name); } setTranscription(prevTranscription => (prevTranscription + transcript + ' '));
Running the completed project
With all of that done, we should now have a fully functional app! Run npm run dev once more, and you should see the words you speak being captioned whilst recording.
Conclusion
With this tutorial we've shown how we can integrate captioning into almost any project. So long as your devices have an internet connection, you can make use of Deepgram to interpret an audio stream and create the appropriate transcripts. Although in testing this you're likely only making use of one or two subscribers, with the usage of Ably we're able to potentially scale an application such as this up to millions of subscribers, with many clients all conversing with one another.
Even if you're not looking to create a project focused around captioning and transcription, the capacity of converting voice into text and distributing it can be incredibly powerful, and I hope this tutorial can act as a strong start for implementing such projects.
The code for this project is all available on GitHub.